Pfaff 821082096 Multi-line decorative foot
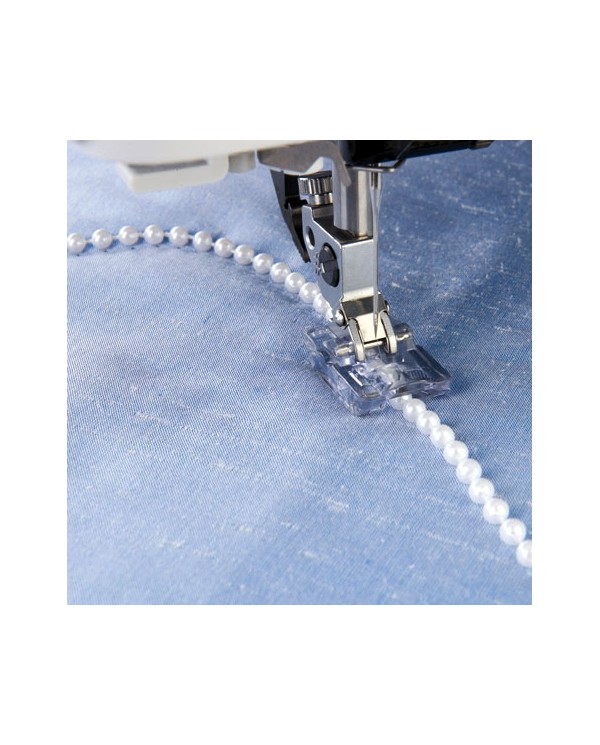
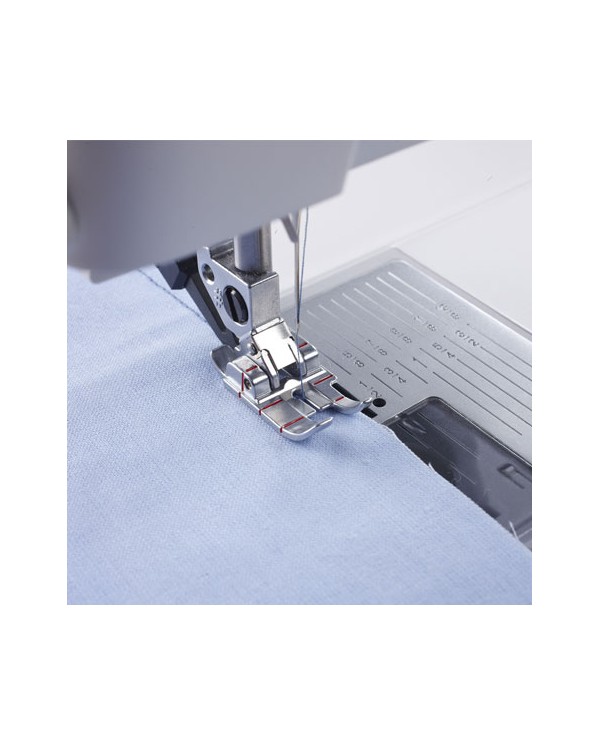
The multi-line decorative foot is designed to help you create parallel lines of decorative stitches that are evenly spaced. Clear viewing through the foot gives you more visibility and helps you precisely align rows of dots.
The multi-line decorative foot is designed to help you create parallel lines of decorative stitches that are evenly spaced. Clear viewing through the foot gives you more visibility and helps you precisely align rows of dots.
Use vertical guidelines to evenly space the rulers and horizontal guidelines to match your starting points and rotate angles in 6mm or 12mm intervals.
The decorative multi-line foot can also be used as a guide when sewing maxi stitches.
Using the Multiline Decorative Foot:
Decorative Hems:
- Disengages the IDT system.
- Insert the decorative multi-line foot.
- Select a decorative stitch.
- Draw a line on the fabric in the center of the area where the sewing will be done.
- Place the Tear-Away stabilizer under the fabric.
- Place the fabric under the presser foot, align the central red mark on it with the line on the fabric. Sew the first row of decorative stitches.
- Choose another decorative stitch or continue with the same stitch.
- Move the fabric to the left.
- Decide on the distance between the lines.
- Use the horizontal red line to match the beginning of each line.
- Sew the new line of stitches using the red line on the presser foot as a guide.
- Move the fabric and sew another line of decorative stitches to the left of the center.
- Continue with other points to create a wider border.
- Remove the stabilizer.
Maxi points:
- Disengages the IDT system.
- Insert the decorative multi-line foot.
- Select a maxi point.
- To ensure a straight seam line, draw a line on the fabric at the point in the middle of the seam. Continue to draw one or two lines on each side of the drawn line.
- Insert the Tear-Away stabilizer under the fabric.
- Sew carefully, let the machine control the transport.
- Keep the drawn lines and the vertical red lines on the same side of the presser foot parallel to each other. Remove the stabilizer.


